Well, it has been many
months without an update! Finally got
Blogger working on the computer again, so its time to catch up.
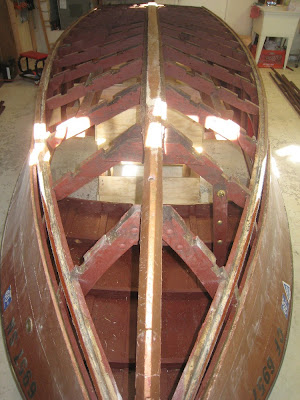
So, the splitting and broken area is marked out, and the laminate trim router is used to remove the damaged area. A small piece of wood is clamped on as a fence to control the depth along the vertical face of the stringer.
Using a small wood chisel,
the ends of the routed area are squared off for the graving piece to be glued
in place.
A piece of Douglas Fir with
a similar grain pattern was used to make the graving pieces. Trimmed for length and a tight fit in the routed
area, the piece is glued with waterproof glue and clamped in place.
A couple of days later,
after the glue has set, the graving piece is ready to be trimmed. Using a small disc sander and then a hand
plane, the excess material is removed and faired to the stringer. A final light sanding and this area is
complete.
A few other areas on the
stringer edge were also repaired. The
steering box carriage bolts had been tightened a few times over the last 60
plus years and the head of two had crushed the stringer. So this area was routed and graving pieces
added.
Along the top of the
stringer, the screw holes for the floorboards were filled with ¼” dowel and
trimmed flush.
Finally, the stringers are
thoroughly degreased, sanded to remove flaking bilge paint and then 2 coats of
Clear Penetrating Epoxy Sealer is applied in preparation for painting.


